A hole is one of the most common components of machine design. For the machine to operate effectively, it must have the proper size and placement of the hole. Precision holes and bores are basic components of almost every machine. Let’s now consider the distinct characteristics of a hole that affect the performance.
The hole size
The first attribute that springs to mind is size. A hole that is too small won’t fit a corresponding part, and if it’s too big, it cannot offer the precise alignment needed. The size range is thus the most important part. The range of sizes permissible for the finished feature is specified by the designer using a tolerance. The size of a hole isn’t the only factor to consider, though.
The hole’s location
You may have experienced first-hand the significance of a hole’s location, if you’ve ever attempted to align two items using a pattern of screws. Even if the diameters of every hole involved in this situation are within tolerance, you can still discover that the components don’t fit together. This is due to the fact that, for the joint to work as intended, the holes must also be in the proper places. Geometric dimensioning and tolerancing allow the designer to much more precisely control the position tolerances of features, and also increases the amount of allowable tolerance without compromising functionality, whereas location tolerance can be controlled with conventional linear dimensions. To properly specify the dimensional properties of a hole, however, size and placement tolerances still fall short.
The orientation
A different dimensional attribute called orientation can also have a significant effect on how well a machine performs. When a bore must be parallel or perpendicular to another feature, it is referred to as its orientation. For instance, excessive angular misalignment in bearing bores might cause the shaft to bind up during installation or produce unwanted stresses and moments during operation, which can result in premature failure.
The hole’s surface finish quality
The hole’s surface finish quality is its final distinguishing feature. When working with hydraulic or pneumatic seals, surface quality is particularly crucial since a finish that is too rough can increase the possibility of leaks or cause the sealing elements to wear out too quickly.
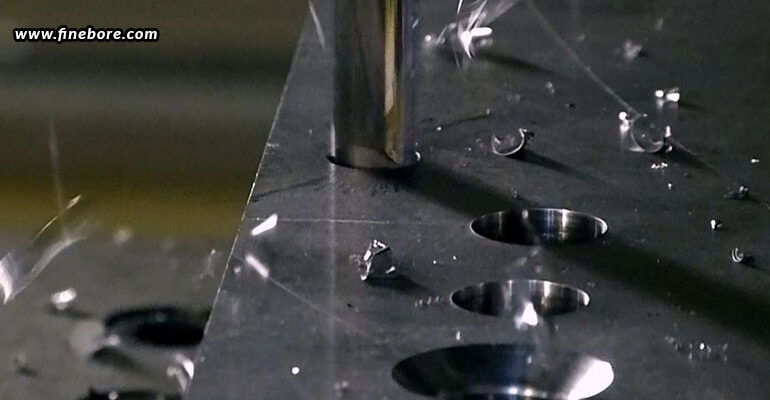
The machinist must weigh the drawbacks of each approach used to create precision holes in order to select the most cost-effective method that still satisfies the drawing specifications. Drilling, reaming, and boring are the three main methods for creating and perfecting holes. But, boring proves to be the gold standard when you need to create exceedingly precise, round, and straight holes.
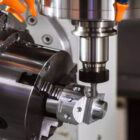
An eccentric cutter, frequently a lathe boring bar, is used in boring heads and is slowly fed into the bore. A boring head is adjustable, allowing a variety of sizes to be machined with a single tool, in contrast to a reamer, which can only create holes of a single size. Boring heads take some time to set up, but once they are, depending on spindle runout and machine table precision, they can consistently retain size and placement tolerances of a few tenths, or around 5 microns. Contact FineTech Toolings, one of the leading precision boring head manufacturers in Bangalore, to obtain the best boring head for your application. FineTech Toolings offers a wide range of boring head types and sizes, including rough boring heads starting at 18 mm and finish boring heads starting at 6 mm and above.

