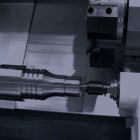
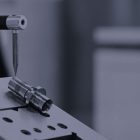
In the field of metalworking and machining, accuracy and precision are essential. A key component in doing this is the careful positioning and setting of boring bars in machining centres or lathes. In boring operations, this procedure is necessary to provide optimal performance, dimensional precision, and flawless surface finishes. Every step is crucial, from choosing the appropriate toolholder to lining up the boring bar using precise tools. Maintaining accurate alignment reduces the possibility of mistakes, increases tool life, and improves the quality of machined components. Machinists may raise the bar in the industry by becoming experts in boring bar setup and alignment, which will allow them to produce remarkable results consistently with confidence, elevating their level of workmanship. Let’s explore the nuances of boring bar setup and alignment methods in this extensive guide, offering clear instructions and insightful advice on how one can become proficient in this important aspect of machining.
Understanding boring bar setup
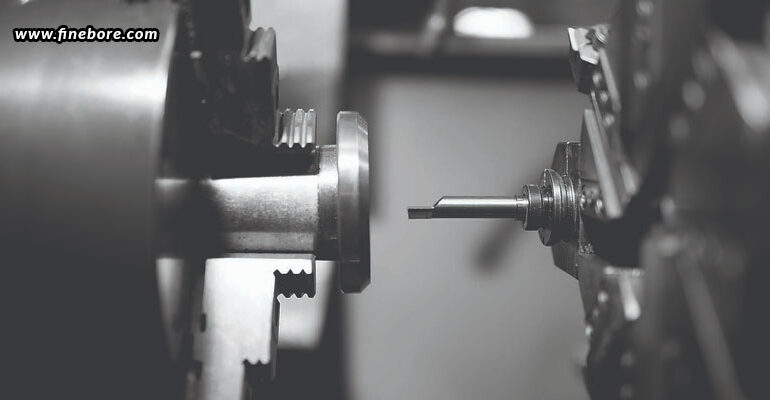
Understanding the structure of a boring bar assembly is essential before starting the setup procedure. The boring bar, a toolholder or adapter, and other accessories like inserts, shims, and clamping mechanisms make up a typical configuration. Every component is essential to the boring operation’s overall stability and efficiency. The main cutting tool is the boring bar, which is held in position inside the machine by the toolholder or adaptor. Shims help with alignment and clearance adjustments, clamping mechanisms provide a steady and secure grip during machining, and inserts provide the cutting edge. To get the best outcomes in boring operations, it is essential to comprehend how these elements interact and perform their functions. Machinists can improve productivity, accuracy, and surface finish quality by paying close attention to the details and making the most use of each component, which will eventually improve the machining process as a whole.
Step 1: Selecting the right toolholder
Selecting an appropriate toolholder or adaptor for the boring bar is the first step in the setup process. The kind of machine being utilized, the spindle size, and the toolholder interface are important considerations. All of these elements work together to determine how well the toolholder secures the boring bar during machining processes. A CNC machining centre, for example, can need a different kind of toolholder than a conventional lathe, and the spindle size needs to match the requirements of the selected toolholder. To ensure a safe and reliable configuration, it is also necessary to make sure that the boring bar and the toolholder interface are compatible. Machinists may create a strong basis for a productive and effective boring operation by carefully evaluating these variables and choosing the right toolholder, which will eventually help produce accurate and superior machined components.
Step 2: Mounting the boring bar
The recommended clamping mechanism must be used to firmly install the boring bar after choosing the right toolholder. To ensure correct engagement, the boring bar must be inserted into the toolholder to the prescribed depth. Adjust the torque to tighten the clamping mechanism in accordance with the manufacturer’s recommendations. This procedure is essential to avoid boring bar slippage or movement during machining processes, which might affect the final product’s precision and quality. Machinists may maximize the efficiency of the boring bar and improve overall machining precision by maintaining stability and stiffness in the setup by following the correct tightening processes. Completing this step with accuracy and care establishes the foundation for effective and successful machining processes, ultimately resulting in high-quality machined components.
Step 3: Aligning the boring bar
For machining to maintain dimensional precision and prevent tool deflection, exact alignment is essential. A cutting tool that is properly aligned is more likely to follow the specified path and produce accurate results with a smooth surface. Uneven material removal, chatter, and early tool wear can all be caused by misalignment, which lowers the quality of the machined item. To check concentricity and alignment, machinists use a variety of alignment techniques. Operators of the machining centre or lathe may maximize cutting efficiency, reduce scrap, and reliably create high-quality components by carefully positioning the boring bar within the machine. Fundamental machining concepts include paying close attention to detail and being committed to accuracy, which ensure that completed products satisfy exacting quality requirements and customer requirements.
Step 4: Checking tool height and offset
Checking the tool height and offset in respect to the workpiece is crucial, even more so than alignment. Accurate measurement instruments such as edge finders and height gauges are essential for guaranteeing that the boring bar is positioned correctly in relation to the workpiece surface. While accurate offset provides the intended machining position, proper tool height ensures constant cutting depth and surface smoothness. To satisfy strict requirements and provide the best possible machining output, machinists measure and change these factors precisely. Inaccurate machining results from not checking the tool height and offset include uneven surfaces, dimensions that are outside tolerance, and broken tools. Machinists maximize machining productivity, reduce scrap, and maintain quality standards by carefully verifying these crucial parameters. This painstaking attention to detail highlights how crucial it is to set up and prepare machining processes precisely, which lays the groundwork for precise and effective component manufacture.
Step 5: Verifying spindle speed and feed rate
It is important to make sure that the feed rate and spindle speed settings are appropriate for the material to be machined and the particular cutting circumstances before beginning any machining operations. The cutting tool’s spindle speed determines its rotational speed, while the feed rate regulates how quickly the tool enters the workpiece. The best possible cutting performance, material removal rates, and surface finish quality are guaranteed by choosing the right spindle speed and feed rate settings. The kind of material, the choice of tools, the depth of cut, and the intended machining result are some of the factors that affect these parameters. For each machining scenario, machinists use a combination of software, machining data tables, and empirical expertise to find the optimal spindle speed and feed rate combinations. Through meticulous parameter tweaking to meet specific application needs, operators may extend tool life, increase machining productivity, and consistently and precisely manufacture high-quality machined components.
Achieving precision and accuracy in machining processes requires a thorough understanding of boring bar setup and tool alignment. You may guarantee optimum performance and efficiency in your boring operations by using the equipment and methods that are recommended above, along with the steps that are described. To reduce hazards and increase efficiency, don’t forget to follow manufacturer advice and safety procedures during the setup process. You may improve your machining abilities and confidently create high-quality components with practice and attention to detail. To get the finest quality boring bars in Bangalore, you can approach Finetech Toolings, whose products can help guarantee the best possible results. Finetech Toolings is known to satisfy the various demands of machining specialists in the city, providing accuracy, dependability, and guarantee of excellent machining outcomes.

