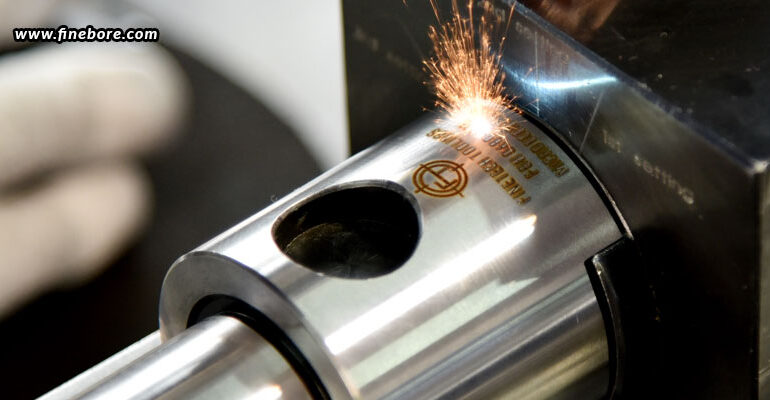
All boring bars in Bangalore and other boring tools have markings that include a variety of numbers and letters that, believe it or not, have actual meaning! Yes, every letter or number marked there has its own individual denotation. Knowing what each letter or number might mean is quite helpful since it could guide you to the proper product, or even prevent you from ordering the wrong one.
The nine codes
There are typically 9 letters/alphabets in the code system, each of which denotes the following respectively.
1 – The type of bar
2 – The bar diameter
3 – The bar length
4 – The method of mounting insert
5 – The insert shape
6 – The lead angle of the boring bar
7 – The relief angle of the insert
8 – The hand of the boring bar
9 – The length of the cutting edge
Now, let us get into the details of each of these 9 codes.
1 – The type of bar
The first letter indicates the material that the boring bar is made of and whether it is solid or has through-coolant capabilities. “A” refers to the bar being made of steel with a hollow bore for allowing the coolant to pass through. “C” indicates carbide. “E” indicates a carbide bar with a fixed steel head and coolant hole. “S” indicates that the bar is made of solid steel. And finally “X” indicates a special type of involvement.
2 – The bar diameter
This one is relatively simple. The shank’s diameter (in mm) is all that is included in the second ISO code number. You should be aware of this so that you can align it with the proper tool holder or sleeve, while also recognizing the size of your minimum bore.
3 – The bar length
The next one is a letter, but it actually denotes a measurement. The third letter denotes the complete length of the bar, right from the end of the shank, to the top of the insert. The list includes the alphabets H, J, K, M, N, Q, R, S, T, U, V, W, and Y, which respectively depict the measurements (in mm) 100, 110, 125, 150, 160, 180, 200, 250, 300, 350, 400, 450, and 500.
4 – The method of mounting insert
There are five different clamping techniques for boring bars. Depending on the insert used or the tool’s shape, these can all change. Additionally, they vary in rigidity and clamping force. “C” denotes top clamping, “D” denotes top and hole clamping, “M” denotes top and hole clamping (with a variation from D), “P” denotes hole clamping, and “S” denotes screw-on clamping.
5 – The insert shape
This merely indicates the insert’s shape, ranging in C, D, K, S, T, V, or W. Multiple metals and steel alloys can be shaped using the inserts. To produce the intended shape, the insert must be the proper shape and quality. The most significant depth of the cut must be ruled out, the necessary cutting length must be identified, and knowledge of the insert’s correct slice length must be ensured in order to calculate the correct insert size.
6 – The lead angle of the boring bar
This depicts the lead angle of the bar, which varies depending on the tool and insert style. The type of tool used, and the shape of the insert decides upon the angle to be used.
7 – The relief angle of the insert
The relief angle of the insert is defined by the seventh letter of the code, which also corresponds to the second letter of the insert that is appropriate for it. The various clearance angles available include 0°, 5°, 7°, and 11°, which are depicted by the alphabets N, B, C, and P respectively.
8 – The hand of the boring bar
The orientation of your tool holder – whether it is left hand, right hand, or neutral (centered) – is one of the most crucial features. You may be able to cut in several directions if you have these alternatives.
9 – The length of the cutting edge
The length of the inserts cutting edge that is being used in the tool is recognized by this last section of the code. So, if the number is 12, it denotes that the cutting edge length is 12mm.
With the above information, you should now be in a better position to use the ISO code to determine the best product for your application. However, if you want to eliminate all this hassle, and yet get the finest boring bars in Bangalore, you can rely upon the products and services of FineTech Toolings, where you can discuss your requirements, and have the most ideal boring bar and other boring tools provided for your particular application. Every product manufactured here is to the exact specifications, and is stringently inspected and calibrated, thus you can rest assured that quality is taken care of at every stage of the manufacturing process, thus delivering to you products that give unmatched precision over a long period of time!

